Overview
Below are the instructions for installing PennCNV on various operating systems. PennCNV is written in a mixture of Perl and C; therefore, re-compilation of the source code is always recommended (unless you are using Windows, for which I pre-packaged a number of dll files for different versions of Perl). In fact, many of the problems that users reported can be simply solved by re-compilation of the source code!
Linux system
If using Linux/Unix system, we can run the wget command to download the program files in a local directory:
[kai@adenine]$ wget https://github.com/WGLab/PennCNV/archive/v1.0.4.tar.gz
Then we uncompress the downloaded file by the tar command, which automatically generate the penncnv/ directory containing executables and library files:
[kai@adenine]$ tar xvfz v1.0.4.tar.gz
We will see the new directory, enter this directory, and we will see several Perl programs (file name in the *.pl format), as well as a kext/, lib/, docs/ and example/ subdirectory. Next, enter the kext/ directory, optionally make change to the Makefile, and type make. If there is no error message, the installation is done!
If you see an error message such as "khmm_wrap.c: In functionSWIG_AsCharPtrAndSize:
/opt/perl/lib/5.26.0/x86_64-linux-thread-multi/CORE/handy.h:111:34: error: bool undeclared (first use in this function)", then just do a sed -i -e '/#undef bool/d' khmm_wrap.c to remove this statement.
If you see an error message such as "/usr/bin/ld: /opt/perl/lib/5.26.0/x86_64-linux-thread-multi/CORE/libperl.a(op.o): relocation R_X86_64_32S against PL_opargs can not be used when making a shared object; recompile with -fPIC", the best solution is just to install a new Perl such as 5.14.2, as explained below in "compilation from source" section. My guess is that the libperl.a itself is not compiled with -fPIC so there is really just no other way except to install another perl yourself (you can either do it manually as I illustrated below, or use perlbrew).
Now try to run the detect_cnv.pl program:
[kai@adenine]$ ./detect_cnv.pl
It will show the program usage information, indicating the successful installation of the program. If an error message like bad interpreter: No such file or directory is shown, it indicates that Perl is installed in a different directory: try running perl ./detect_cnv.pl instead.
If other types of error message are issued (such as floating point exception), we need to compile the program, see the compilation section below.
For Solaris, change "gcc" to "cc" in the Makefile, since normally one can create shared libraries with c compiler provided by Solaris, but not gcc itself.
ADDITIONAL NOTES: If you have problem installing PennCNV in your operating system, it is perhaps due to incompatibility with the latest version of Perl 5.14/5.18 in some systems. To solve this issue, you can use perlbrew to install a lower version of Perl and run PennCNV on top of that without re-compilation. Perlbrew defaults the installation to non-threaded and non-multi perl versions. You may want to use "perlbrew install perl-[insert version here] --thread --multi". See more instructions at the end of this page.
Windows
There are two ways to use PennCNV in a Windows system: either install Cygwin and use PennCNV under Cygwin shell, or install ActivePerl and use PennCNV in a regular Windows command shell. These two methods are described in the following two sections.
IMPORTANT NOTES: My recommendation to Windows users is that you just do these two things: (1) Install 32-bit Perl 5.8.8 from here. (2) Download and unpack PennCNV. Then just use it. There is no need for compilation or any other complication. But if you do not have anything more challenging to do or if you just want to kill some time, then feel free to play the compilation game below.
If you really like to use Windows, and if you do not want to use command line, you can alternatively try to use PennCNV inside BeadStudio software by the Universal CNV adapter. You can access the webpage describing this procedure on using PennCNV Plug-in.
Windows system with Cygwin
In this section we describe the method for running PennCNV under Cygwin.
We first need to download and save the PennCNV package as zip file from a web browser to local hard drive, and use a unzipping software to unzip the files. Do make sure the kext/, lib/ and example/ directories are present after unzipping, since some software under Windows is unable to generate directory structures from \*.tar.gz file.
We next need to install cygwin in the system. Do make sure that you select the devel package during cygwin installation, since the devel package is NOT selected in default installation process. (Basically by clicking the word next to devel in the package-selection dialog, you will see the option cycle through default, reinstall, uninstall and install: stop clicking when seeing install as the option and then go the next installation step (see figure below). Depending on your network connection speed and computer speed, it may take 5-30 minutes for downloading the package and another 5-10 minutes to install the package.

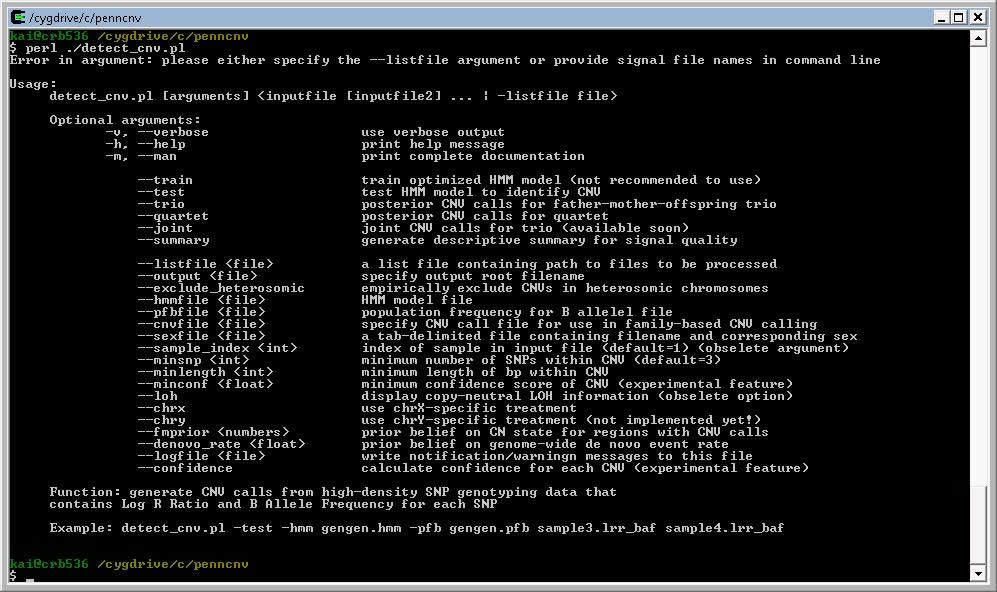
After cygwin is installed in your system, you can then open the Cygwin BASH shell and run PennCNV program from there. Note that in cygwin, to access the penncnv/ directory in local hard drive, we need to use a pathname similar to cd /cygdrive/c/penncnv, rather than cd c:\penncnv. When running the detect_cnv.pl program, if you see an error message, it possibly indicates that the devel package has not been installed in cygwin environment.
Windows system with ActivePerl
Note: Current PennCNV package contains pre-compiled executables for 32-bit Perl in Windows XP and Windows Vista and Windows 7. If you have a 64-bit Windows system, you should install a 32-bit Perl ( 5.8.8, 5.8.9, 5.10.1, 5.12.3, 5.14.0) in the 64-bit Windows, and PennCNV should be able to run in compatibility mode.
Like the last section, we first need to download and uncompress the PennCNV package. We next need to install ActivePerl in the computer. Install the file to your Windows system by selecting all default options. PennCNV only pre-package DLL files for 32-bit Perl ( 5.8.8, 5.8.9, 5.10.1, 5.12.3, 5.14.0)!
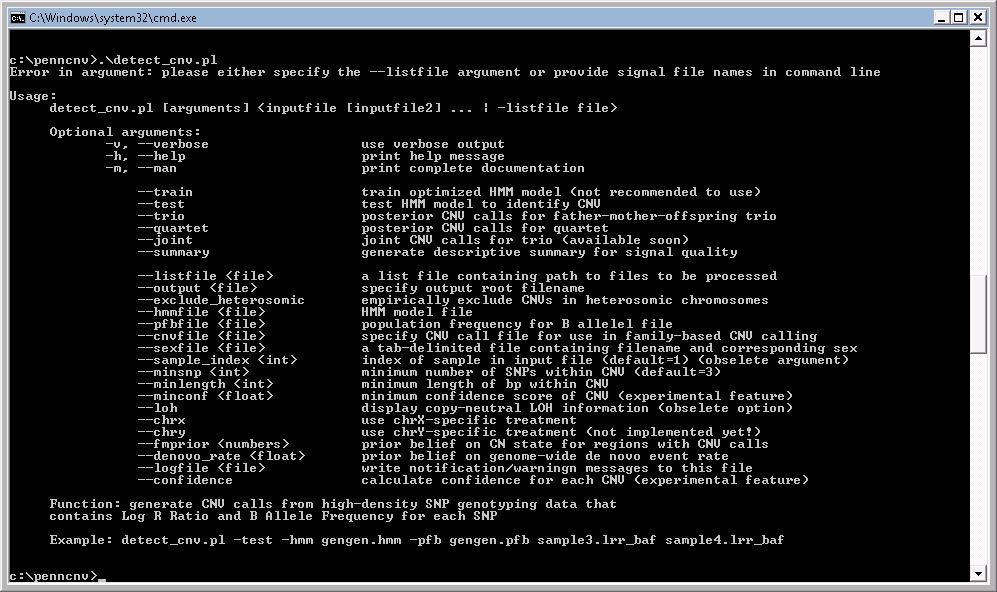
Now we can open a Windows command shell (click the start, then click Run, then type in cmd, then type enter). Go to the directory where PennCNV is installed (for example, cd c:\penncnv), then type perl .\detect_cnv.pl, and we should see the program usage information here. In fact, we can also try typing .\detect_cnv.pl directly, and it should also work (if ActivePerl is installed with default options for handling *.pl extensions). See example below.
Mac OS X
Users need to recompile the source code for execution in Mac OS. This information was provided by Markus Ringner: In the Makefile, replace -shared with -dynamiclib, replace khmm.so with khmm.dylib.
Using Docker image for PennCNV
PennCNV has been dockerized by Roman Hillje at the University of Zurich, Switzerland. The docker image and related documentation are available at https://hub.docker.com/r/romanhaa/penncnv/. Please refer to the website for detailed instructions.
Compilation from source
Unless you are using Windows, compilation from source is always recommended.
If using a very old machine with very old version of make program, the fancy characters like $@ and $^ in the Makefile may not be recognized correctly. If that is the case, just manually change the character to appropriate file names.
Compilation in Cygwin: change khmm.so to khmm.dll in the Makefile file before compilation.*
Compilation in Windows: The pre-compiled executable in PennCNV can only be used under 32-bit Windows machine. (If you use 64-bit Windows, the pre-compiled executable can still be used, but only if you install 32-bit Perl in the machine, not the 64-bit version of Perl). If you have a 64-bit Windows but have no experience in compilation, do NOT compile. Just download 32-bit Perl and run PennCNV directly. I was not able to compile PennCNV specifically for 64-bit Perl. For other Windows system and/or any other Perl version, re-compilation may be required. Follow these steps exactly. First, install ActivePerl in the system. Next, install the MinGW (minimalist GNU), which contains necessary components/commands/libraries for GCC. During installation, select the MSYS shell which is more convenient for our compilation purposes, compared to windows shell. Next, open MSYS, go to PennCNV directory, to go the kext/ sub-directory, run the perl -MExtUtils::Embed -e ccopts, perl -MExtUtils::Embed -e ldopts, perl -MConfig -e 'print $Config{archname}' and perl -MConfig -e 'print $Config{version}' command, then copy the output and paste into the Makefile in the corresponding places in the file. Different machines may have a different outputs for the above commands! The only complication is that any \ character need to be changed to / instead. For example, C:\Perl\lib\CORE should be changed to C:/Perl/lib/CORE. Finally change khmm.so to khmm.dll in the Makefile file. Now just type make in the kext/ directory and it should work from there.
Compilation in Solaris: change gcc to cc in the Makefile, then compile by typing make. This change is needed because gcc in many Solaris system is not compiled in a way to allow dynamic linking.
The last resort
If all the above methods do not work, then you can resort to reinstallation of Perl manually. In fact, I was not able to compile PennCNV in Perl 5.20.2, but was able to compile PennCNV on Perl 5.14.2 and other earlier versions. Although perlbrew is commonly used for installing another version of Perl, sometimes perlbrew cannot correctly compile/install perl even if appropriate arguments were supplied based on their documentation. So it is best to just install Perl yourself: this is indeed incredibly simple if you just follow step-by-step instructions below. Suppose that I want to install Perl in ~/usr/perl-5.14.2 directory.
[kaiwang@biocluster ~/]$ wget http://www.cpan.org/src/perl-5.14.2.tar.gz
[kaiwang@biocluster ~/]$ tar xvfz perl-5.14.2.tar.gz
[kaiwang@biocluster ~/]$ cd perl-5.14.2
[kaiwang@biocluster ~/]$ ./Configure -des -Dprefix=/home/kaiwang/usr/perl-5.14.2 -Accflags='-fPIC' -Dusethreads
[kaiwang@biocluster ~/]$ make
[kaiwang@biocluster ~/]$ make test
[kaiwang@biocluster ~/]$ make install
Note that in the command above, -fPIC is needed for x86_64 system, and -Duseithreads are highly recommended to enable threading functionality in Perl (though not used in PennCNV per se).
The make test command will run around 1,000 tests, and some of them may fail (usually should be less than 5). If a large fraction fails, then you should be careful with continuing the installation.
Finally, remember to add ~/usr/perl into the beginning of your PATH environmental variable. Then logout and login again, enter PennCNV's kext/ directory and type make. Everything should work from there.
If you want to install perl using perlbrew, you can use the following command:
perlbrew install perl-5.14.2 --as perl-5.14.2-PIC -Accflags=-fPIC
perlbrew switch perl-5.14.2-PIC
Be sure to add the -Accflags=-fPIC argument.
Installation trouble shooting
-
Problem (out of memory in Cygwin):
Symptom: out of memory occurs in cygwin, although the machine clearly has 4GB memory and should be more than enough (even for 1.8 million markers for a father-mother-offspring trio, the memory usage should be ~3GB in a 64-bit machine).
Solution: By default, Cygwin assigns only 1GB memory so any process, so a process that tries use >1GB will be killed by Cygwin.
Try this in cygwin:
regtool -i set /HKLM/Software/Cygnus\ Solutions/Cygwin/heap_chunk_in_mb 4096
regtool -v list /HKLM/Software/Cygnus\ Solutions/Cygwin
-
Problem (program is very slow):
Symptom: Program takes forever to run.
Solution: It should take ~2 minutes for calling CNV on a signal file with 1 million markers, and slightly longer if the GCmodel adjustment and confidence score calculation are used. If the program takes forever to run, it is more likely due to lack of memory. In Windows, use the task manager to check the CPU/memory usage; in Linux/Unix, use the top command to check CPU/memory usage. If the CPU usage is far less than 20%, it indicates that virtual memory has been used by the system to execute PennCNV, resulting in the slow speed. To solve the problem, try to use a machine with larger amounts of memory instead. Alternatively, split the PFB file into two parts (one for chr1-10, the other for 11-23), and run PennCNV twice with two different PFB files.
-
Problem (wave adjustment does not work):
Symptom: The -gcmodel argument does not work, so the GCWF score before and after adjustment are the same.
Solution: Re-compile the source code using the instruction above.
-
Problem (core dumped or cannot locate loadable object error):
Symptom: When issuing PennCNV, the cannot locate loadable object message appear, or when running PennCNV, a sudden core dumped message occurs during what appears to be a normal run.
Solution: Re-compile the source code using the instruction above.
-
Problem (cannot find -lperl):
Symptom: when typing "make" to compile the program, gcc complains that " /usr/bin/ld: cannot find -lperl"
Solution: The error is caused by the fact that perl is not installed in a standard way so the path to libperl is not annotated in the "perl -MExtUtils::Embed -e ldopts" command output. (Sometimes this issue can be easily solved by
sudo apt-get install libperl-devin Ubuntu.)If you run "perl -V", you can try to find something like"/usr/lib64/perl5/5.8.8/x86_64-linux-thread-multi/CORE" in the dynamic linking section. Now make sure that the"/usr/lib64/perl5/5.8.8/x86_64-linux-thread-multi/CORE/libperl.so" file actually exist. Then in the Makefile, just add"-L/usr/lib64/perl5/5.8.8/x86_64-linux-thread-multi/CORE/" to the command it should fix the problem.
To give a more clear example, suppose after using "perl -V", you know that the library "libperl.so" file is in the "/usr/lib" folder. But if you run "perl -MExtUtils::Embed -e ldopts" you found the following: " -Wl,-E -L/usr/local/lib -L/usr/lib/perl/5.10/CORE -lperl -ldl -lm -lpthread -lc -lcrypt", so /usr/lib is not annotated here.
Now you can just simply manually add the "-L/usr/bin" to the command line, " gcc -shared -o khmm.so khmm_wrap.o khmm.o kc.o include/arrays.o khmmDev.o -L/usr/lib -Wl,-E -L/usr/local/lib -L/usr/lib/perl/5.10/CORE -lperl -ldl -lm -lpthread -lc -lcrypt", so the system won't complain about not finding "-lperl".
-
Problem (PennCNV does not compile on Ubuntu)
Symptom: compilation of PennCNV gives error message in Ubuntu
Solution: The following instruction is given by Dan Porat: If you use Ubuntu, note that the default installation of Ubuntu does not contain libperl-dev and therefore it should be added. The only step needed in order to get PennCNV up and running is the command:"sudo apt-get install libperl-dev".
If you still cannot make it work in Ubuntu, then follow these suggestions: you can use perlbrew to install a lower version of Perl and run PennCNV on top of that without re-compilation. Perlbrew defaults the installation to non-threaded and non-multi perl versions. In order to use (for example), as precompiled code for perl-5.8.8 (x86_64-linux-thread-multi, one would have to set their perlbrew install to install a version where thread and multi is available. So, in the install I had to do "perlbrew install perl-[insert version here] --thread --multi".
# If installing pennCNV with the standard procedure does not work
# (http://www.openbioinformatics.org/penncnv/penncnv_installation.html)
# eg on Ubuntu 14.04 with perl 5.18.2, architecture x86_64-linux-gnu-thread-multi:
# This might be due to incompatibilities of pennCNV's khmm module with recent perl versions
# Solution: install an older perl with the perlbrew utility (which will not erase your current perl)
# and use precompiled khmm for perl 5.8.8 available in the pennCNV download

## INSTALL compatible version of perl with the perlbrew utility
# install perlbrew
\wget -O - http://install.perlbrew.pl | bash
source ~/perl5/perlbrew/etc/bashrc

# install perl 5.8.8
perlbrew install perl-5.8.8 --thread --multi # says that installation failed because 1 test failed
cd /home/yourhomename/perl5/perlbrew/build/perl-5.8.8; make install # force install anyway

## USAGE: run detect_cnv.pl
# first possibility requiring perlbrew:
source ~/perl5/perlbrew/etc/bashrc # loads perlbrew
perlbrew use perl-5.8.8 # assigns perl to perl-5.8.8
perl /path/to/pennCNV/detect_cnv.pl --test --hmm example.hmm --pfb example.pfb father.txt mother.txt offspring.txt # run pennCNV

# Note:
# the following command will not work even if the pennCNV folder is in your $PATH,
# because the #!/usr/bin/perl at the beginning of detect_cnv.pl points to the system perl and not to perl-5.8.8
# (even if you ran the perlbrew use perl-5.8.8 command)
detect_cnv.pl --test --hmm example.hmm --pfb example.pfb father.txt mother.txt offspring.txt

# second possibility: forget about perlbrew:
# replace the first line of detect_cnv.pl : #!/usr/bin/perl
# by the location where perlbrew installed perl-5.8.8 : #!/home/yourhomename/perl5/perlbrew/perls/perl-5.8.8/bin/perl
# then the following command works (if the pennCNV folder is in your $PATH):
detect_cnv.pl --test --hmm example.hmm --pfb example.pfb father.txt mother.txt offspring.txt